Part 1: Setup frontend
Create a new project
Run the following command to create a new Next.js project with the LangGraph assistant-ui template:
You should see the following files in your project:
Setup environment variables
Create a .env.local file in your project with the following variables:
This connects the frontend to a LangGraph Cloud endpoint running under
https://assistant-ui-stockbroker.vercel.app/api.
This endpoint is running the LangGraph agent defined in this repository.
Start the server
You can start the server by running the following command:
The server will start and you can view the frontend by opening a browser tab to http://localhost:3000.
You should be able to chat with the assistant and see LLM responses streaming in real-time.
Explore features
Streaming
Streaming message support is enabled by default. The LangGraph integration includes sophisticated message handling that efficiently manages streaming responses:
- Messages are accumulated and updated in real-time using
LangGraphMessageAccumulator - Partial message chunks are automatically merged using
appendLangChainChunk - The runtime handles all the complexity of managing streaming state
This means you'll see tokens appear smoothly as they're generated by the LLM, with proper handling of both text content and tool calls.
Markdown support
Rich text rendering using Markdown is enabled by default.
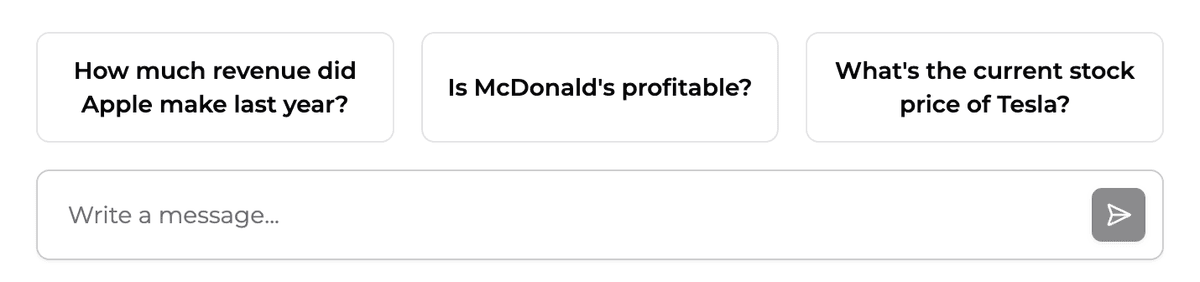
Add conversation starter messages
In order to help users understand what the assistant can do, we can add some conversation starter messages.